
Candy paint collision repair poses challenges due to its thin application and specialized formula, requiring meticulous techniques like precision sanding and color matching. Skipping preparation steps or using incorrect tools can cause long-term damage, affecting aesthetics and vehicle value. Proper damage assessment, surface preparation, and tool selection are crucial for seamless repairs, preventing future corrosion and unsightly marks.
“Uncovering the secrets to seamless candy paint collision repairs, this guide highlights common pitfalls to steer clear of. Candy paint, known for its vibrant hues and glossy finish, is delicate and requires meticulous care during repairs. In this article, we delve into understanding the unique characteristics of candy paint, identifying mistakes in preparation that can compromise results, and exploring techniques & tools to ensure accurate, non-damaging repairs.”
- Understanding Candy Paint: Basics and Fragility
- Common Mistakes in Preparation: Skipping Steps
- Techniques and Tools: Avoiding Unnecessary Damage
Understanding Candy Paint: Basics and Fragility
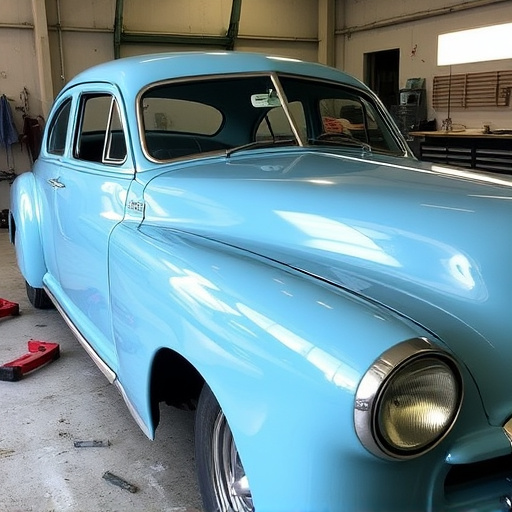
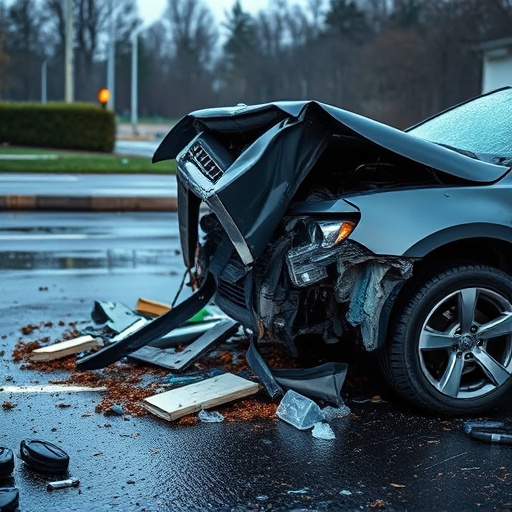
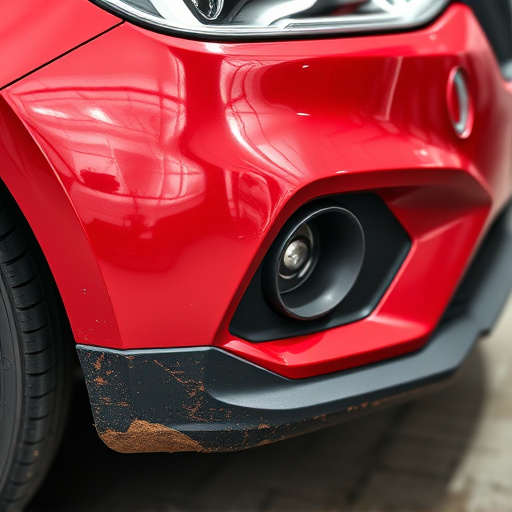
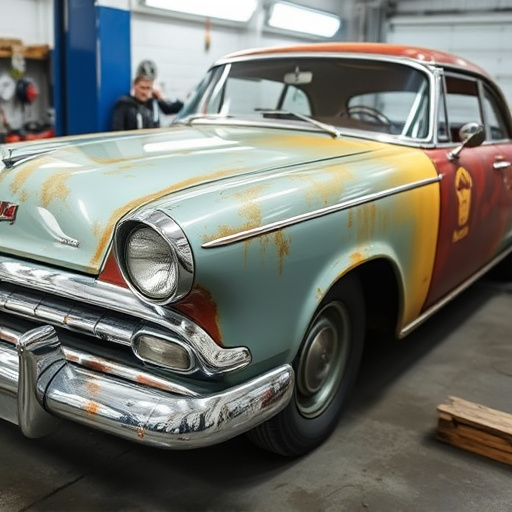
Candy paint, a popular choice for automotive finishes due to its vibrant colors and glossy finish, is a delicate material that requires careful handling during collision repairs. Unlike traditional paint jobs, candy paint is known for its thin application and unique formulation, which includes iridescent or pearl effects. This makes it more susceptible to chipping, scratching, and even minor dents.
In the realm of candy paint collision repair, understanding the fragility of this finish is paramount. Even slight imperfections during the repair process can compromise the aesthetics and value of the vehicle. Dent repair techniques must be tailored to avoid damaging the delicate surface, often requiring specialized tools and expertise. Vehicle collision repair professionals should employ meticulous methods, such as precision sanding and careful color matching, to ensure a seamless restoration that maintains the car’s original appeal.
Common Mistakes in Preparation: Skipping Steps
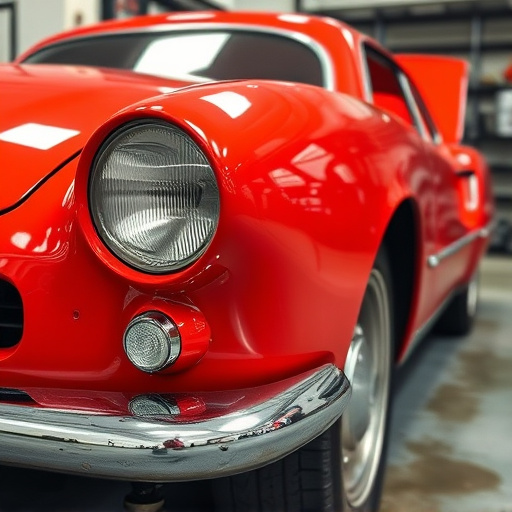
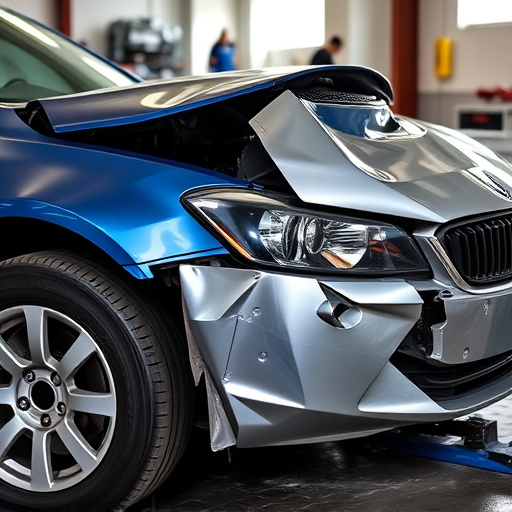
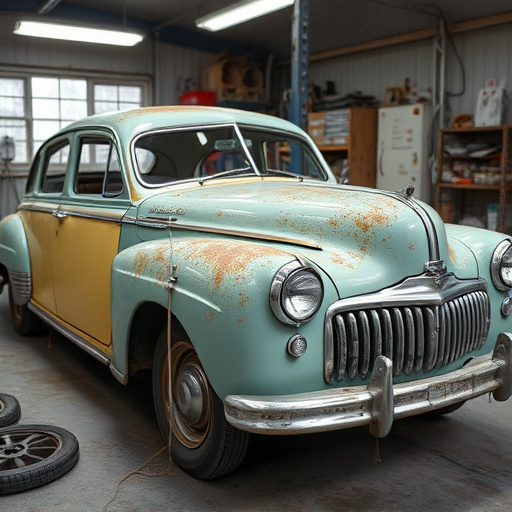
In the quest for perfect candy paint collision repairs, skipping crucial preparation steps can lead to significant issues down the line. One common mistake is rushing into the repair process without thoroughly assessing the damage. Each dent, scratch, or chip requires individual attention, and a hasty approach may result in incomplete fills or misaligned panels. It’s essential to take the time to correctly identify and measure the imperfections, ensuring an accurate estimate and treatment plan.
Another oversight is neglecting proper surface preparation. Failure to thoroughly clean, degrease, and sand the affected areas can compromise the adhesion of the candy paint. This can lead to bubbling, peeling, or an uneven finish. Skipping these steps may also result in residual dirt or oil attracting moisture, causing future corrosion. Correct preparation ensures a seamless blend with the existing paintwork, enhancing the overall quality of the collision repair.
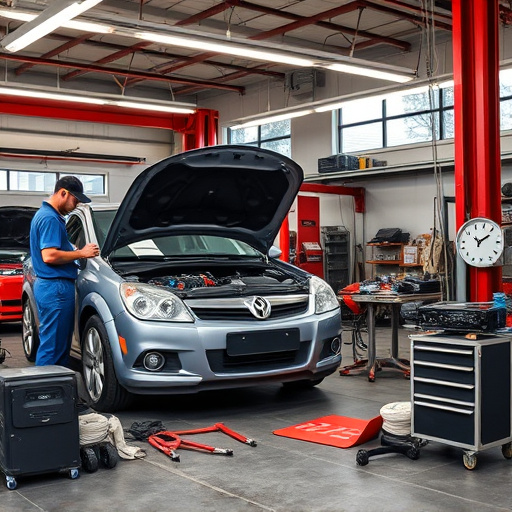
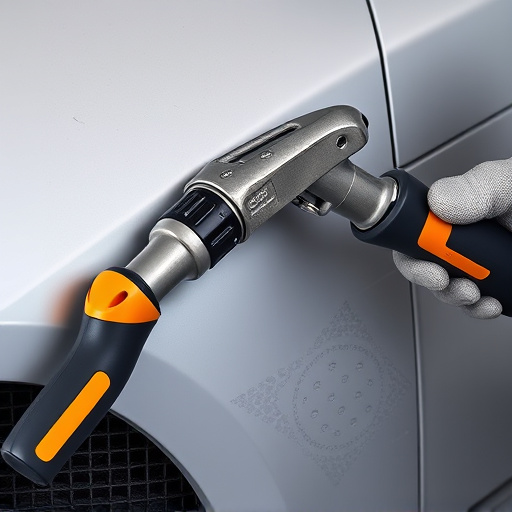
Techniques and Tools: Avoiding Unnecessary Damage
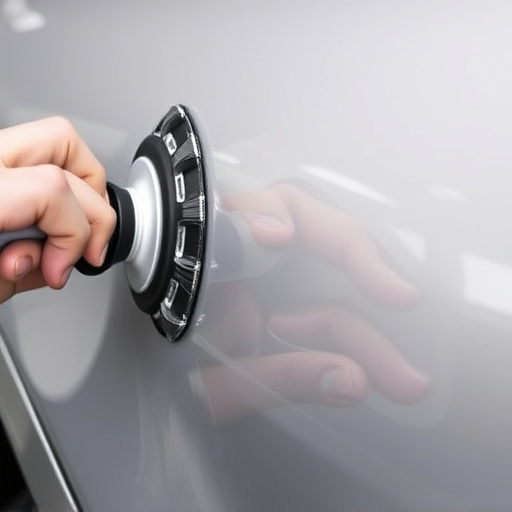
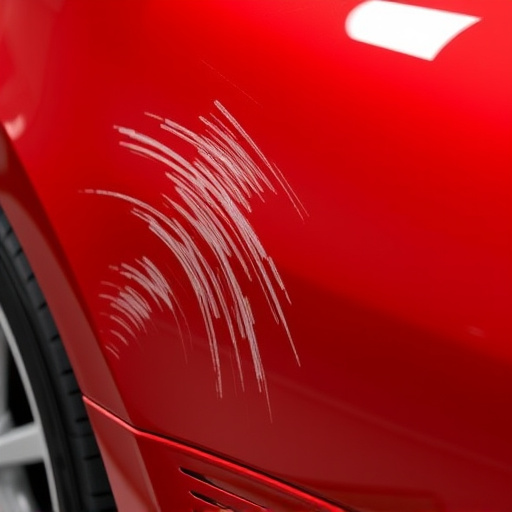
When undertaking candy paint collision repairs, it’s crucial to employ the right techniques and tools to avoid further damaging the intricate finish. Many beginners make the mistake of using incorrect tools, leading to scratches or misaligned panels. Always opt for high-quality, specialized tools designed for delicate car bodywork, such as precision scissors, putty knives, and rubber mallets. These tools allow for precise cuts, smooth applications of filler, and careful manipulation during the repair process, ensuring minimal disruption to the candy paint surface.
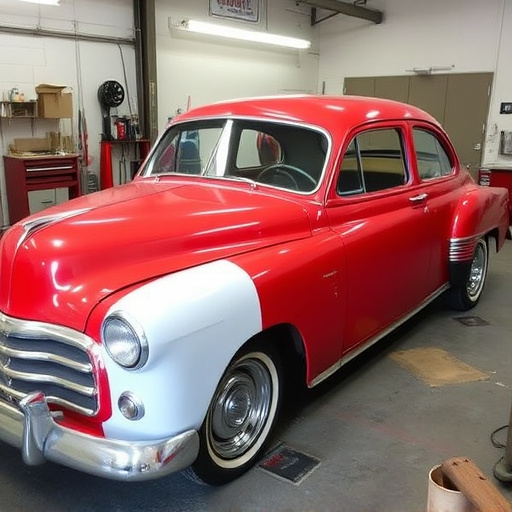
Additionally, taking the time to properly prepare the damaged area is essential. Sanding too aggressively can remove the glossy candy coat, so light, controlled sanding is key. Use fine-grit sandpaper to avoid leaving rough edges or causing further damage. After sanding, ensure the surface is thoroughly cleaned and free of dust before applying any filler or paint, which will guarantee a seamless blend with the surrounding candy paint and prevent unsightly marks or patches.
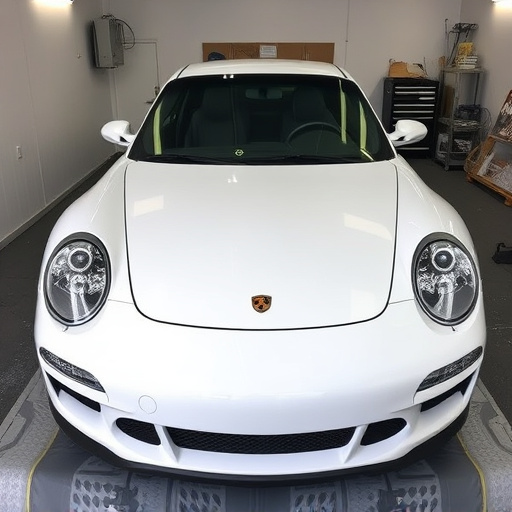
When undertaking candy paint collision repairs, avoiding common mistakes is key to achieving a flawless finish. From understanding the unique properties of candy paint to utilizing the right techniques and tools, each step in the process matters. Skipping preparation steps can lead to uneven results, while proper preparation ensures a durable and visually appealing repair. By adhering to these guidelines, you’ll be better equipped to provide top-notch candy paint collision repairs, ensuring your clients’ vehicles return to their glossy, one-of-a-kind splendor.